
The Evolution of Delta 3D Studios’ Design Process
Posted by Delta3DStudios on May 20th 2025
At Delta 3D Studios, we believe that great products don’t just happen - they’re earned through a rigorous, iterative process that balances innovation, efficiency, and sustainability. Whether we’re finalizing a product, modifying an existing design, or prototyping something new, our goal is the same: deliver a perfect fit and lasting performance with minimal waste.
1. Measure & Mock‑Up
Every project begins with measurements of the existing component or raw material - this could be a popular vaporizer, piece of an appliance, gym equipment, or any off‑the‑shelf part necessary. We mock up a rough 3D profile in CAD, blocking out the core geometry and defining how our design will interface. From there, we refine core features in CAD - sketching and iterating until the concept fully takes shape and (hopefully) fits as intended. By reusing existing components wherever possible, we avoid reinventing the wheel and focus our efforts on making the functional item
"We often don't even know what the finished item looks like until we begin sketching it out in CAD!"
2. Rapid Test‑Slice Prototyping
 To accelerate development and minimize material waste, we use test slices - small cross‑sections of the design to confirm critical fits and tolerances before committing to larger prints. Once we finish sketching out a rough draft of the design, our next objective is to confirm the part fits in real life by generating thin 'test slices' and printing them often using an eco‑friendly, biodegradable plastic when possible to further reduce waste.
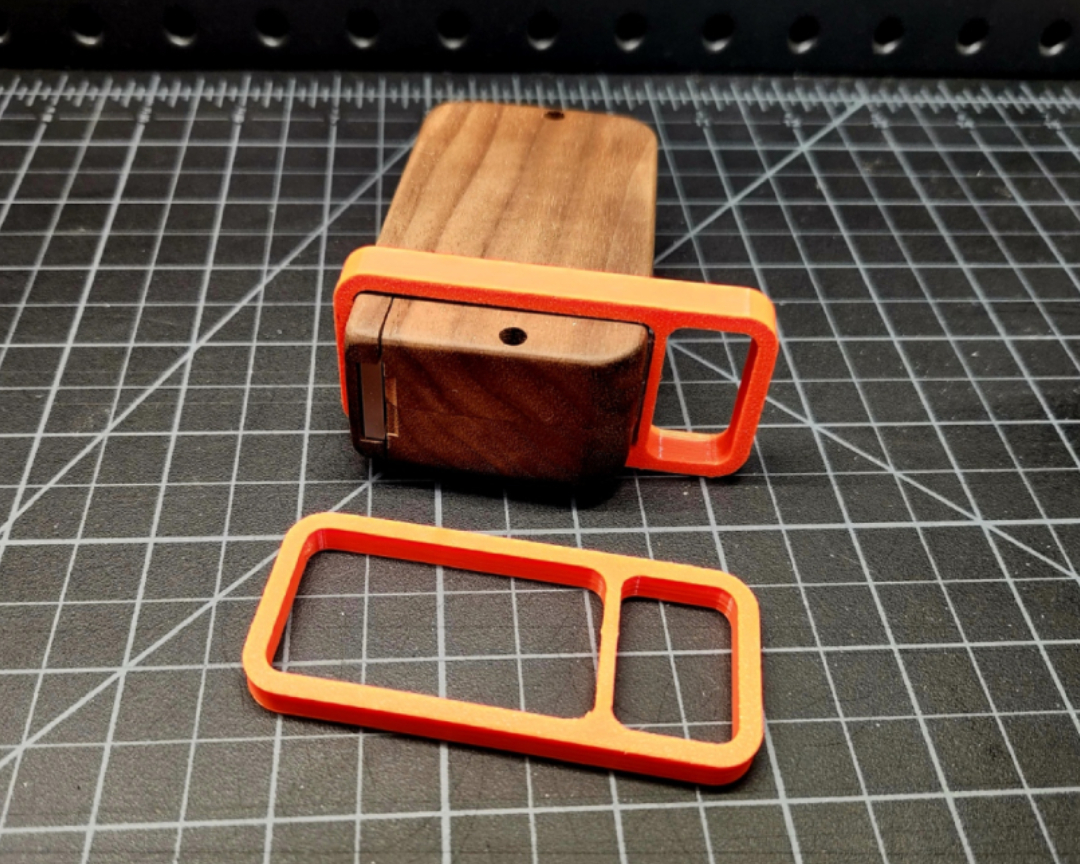
3. Cutaway Prototype Analysis
 Once the test slice verifies the basic profile, we produce a ¾ cutaway prototype to inspect internal geometry, snap‑fits, and clearances. We insert the device or component into the cutaway to check alignment and evaluate stress points and wear‑in behavior under simulated use, ensuring all elements lock together smoothly before moving forward.
"Seeing how the parts interlock in a physical cutaway is crucial - it reveals issues no CAD view ever could."
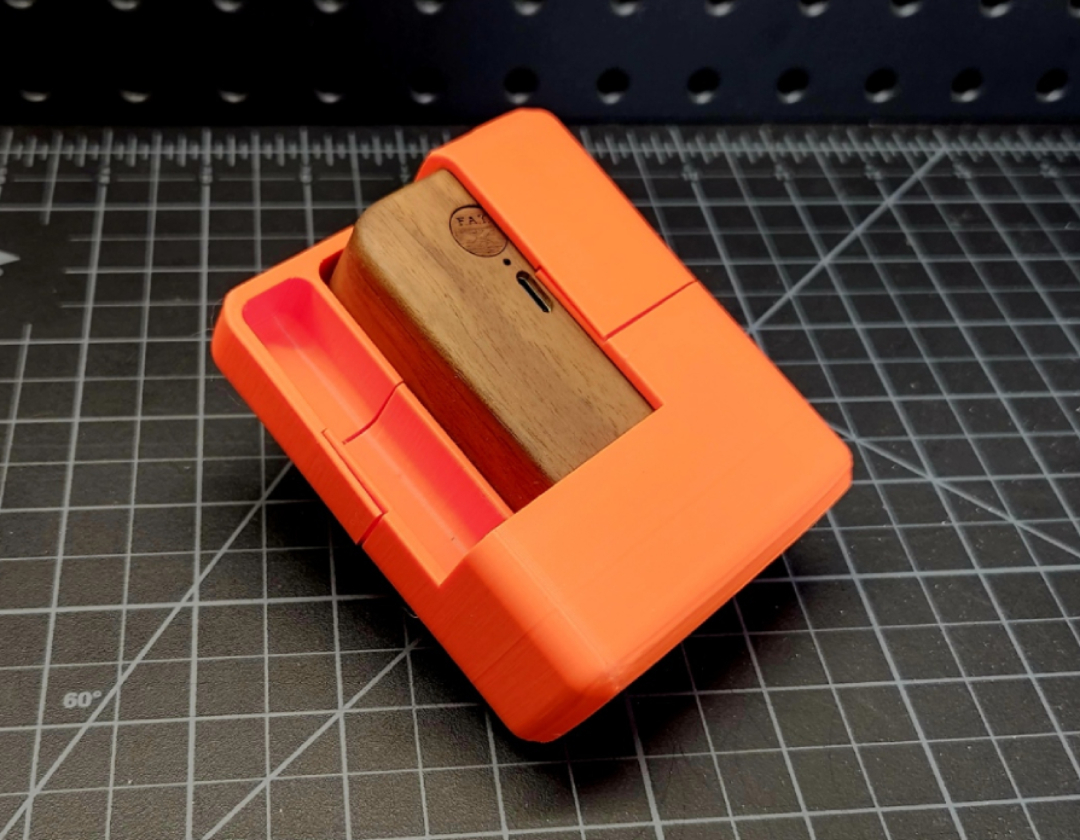
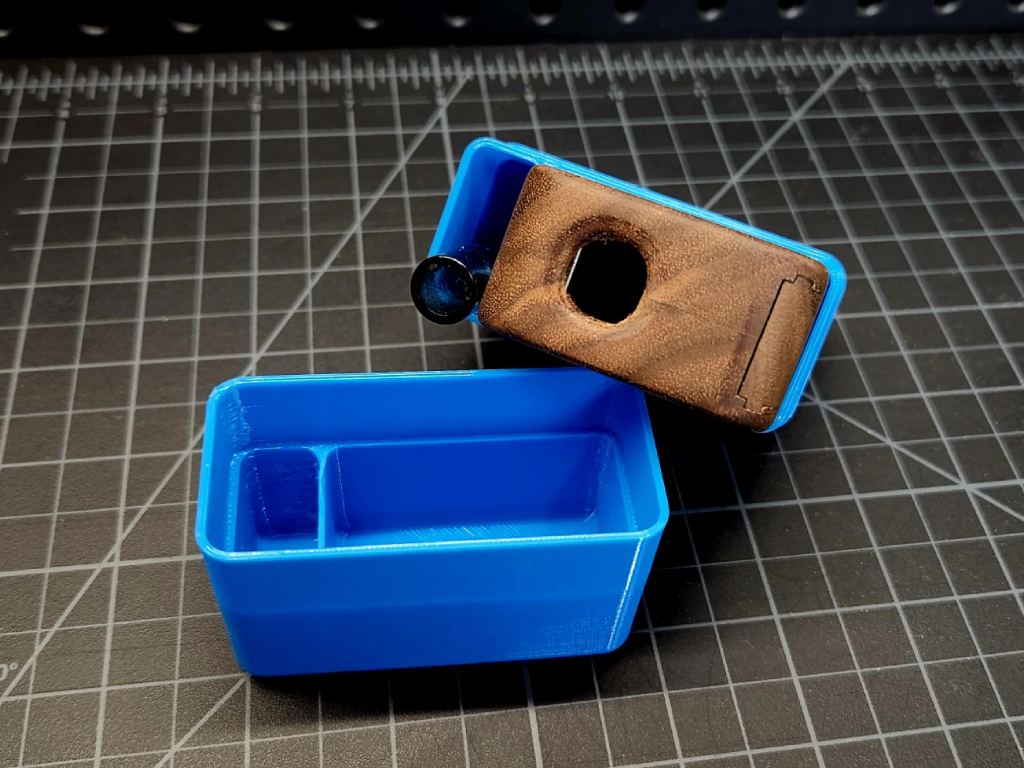
4. Full‑Scale Prototyping & Iteration
With confidence in the fit, we finalize the CAD model and print the first full‑scale prototype. We then review the prototype’s form, fit, and function, apply cosmetic and ergonomic tweaks, and iterate as needed - sometimes revisiting major changes based on full‑scale testing.
"Even after a perfect print, we totally will revise the design. Our commitment is to excellence - not speed."
5. Torture‑Testing & Longevity Validation
Quality is in our DNA. We refuse to sell products that can fail after only a few uses - so we put every prototype and production part through real‑world trials. We subject components to heat cycles, impact tests, bending, and long‑term outdoor exposure, while field testing keeps them in rotation for months or even years. We also welcome customer feedback - encouraging users to send photos of any failures so we can analyze the point of breakage and engineer solutions for future customers. This relentless cycle of abuse and improvement ensures our accessories stand to use and abuse.
"Even when a prototype looks spot-on, we’ll tweak it again - we’re all about getting it right, not rushing it."
6. Final Verification & Launch
 After we are satisfied with the fit and function of a product, we publish it to our website and closely monitor feedback from early adopters. We tweak the design based on customer input and discuss what they’d like to see in a potential revision, ensuring continuous improvement and customer satisfaction.
Our Passion & Your Ideas
We live for the thrill of creation - from the spark of an idea to the tactile joy of holding the first physical prototype. Customer suggestions spark our best innovations, and we’re always eager to tackle new challenges. Have a custom request or an idea that could improve your life? Reach out and let’s make it happen!
Ready to start your next project? Drop us a line to kick off your custom design journey.